So, you just got your newly purchased computer delivered? Awesome.
However, not everyone is knowledgeable about setting up a computer desktop. Need some help setting it up? You’ve got it! We’ve made this guide to help you in setting up your new PC.
How to Set up your new PC
First, let’s talk about the components that would have come with your PC package. Take note that this may differ – depending on the specific bundle that you got. But don’t worry, we’ll list the variations here.
Components (if you bought a complete set):
- Desktop Computer / CPU / System Unit – it’s that big rectangular thingamajig with all the ports at the back.
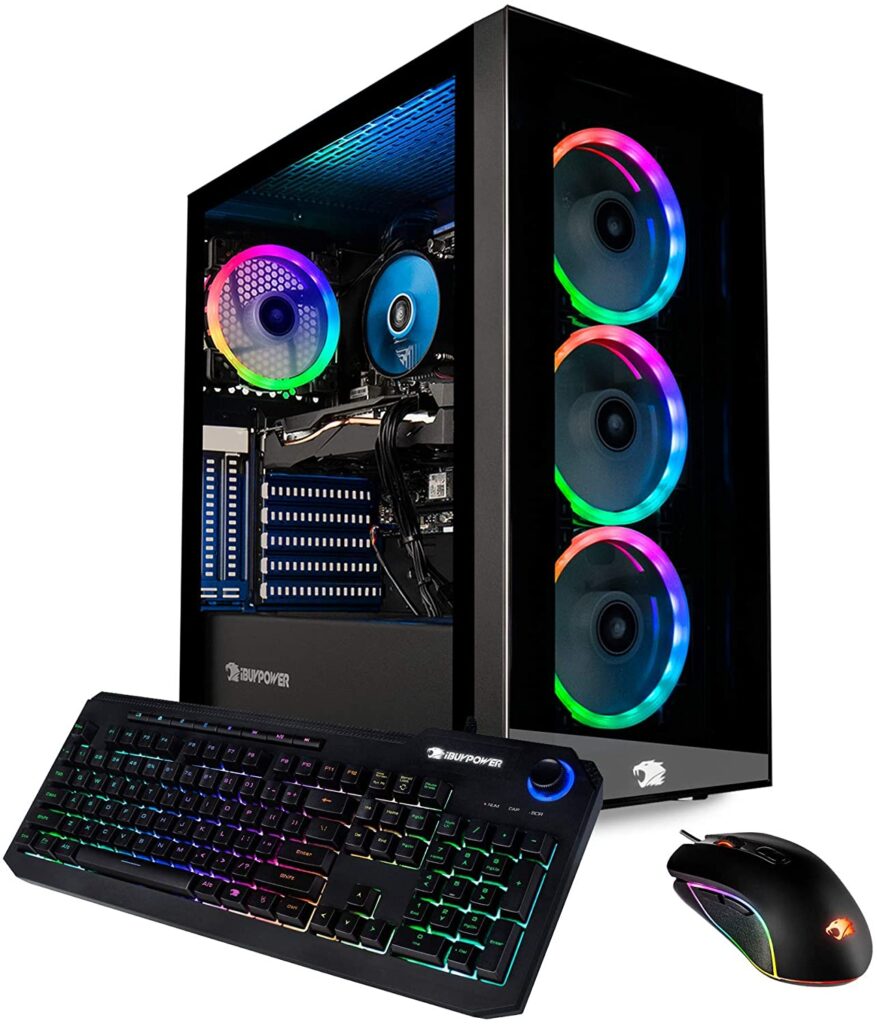
- Monitor – You know… that TV-looking thing, which is not actually a TV.
- Keyboard – It has numbers and letters for buttons.
- Mouse – It looks like a mouse with a long tail and two buttons over it.
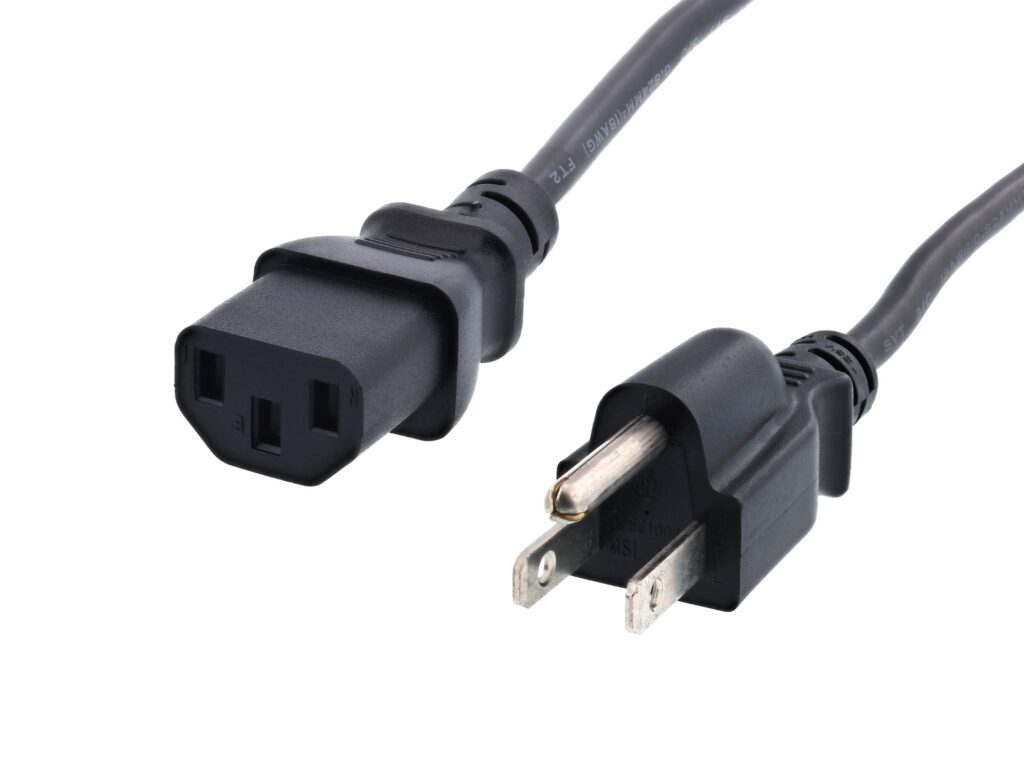
- Computer Power Cable – It’s a cable with one end that plugs into your electricity outlet.
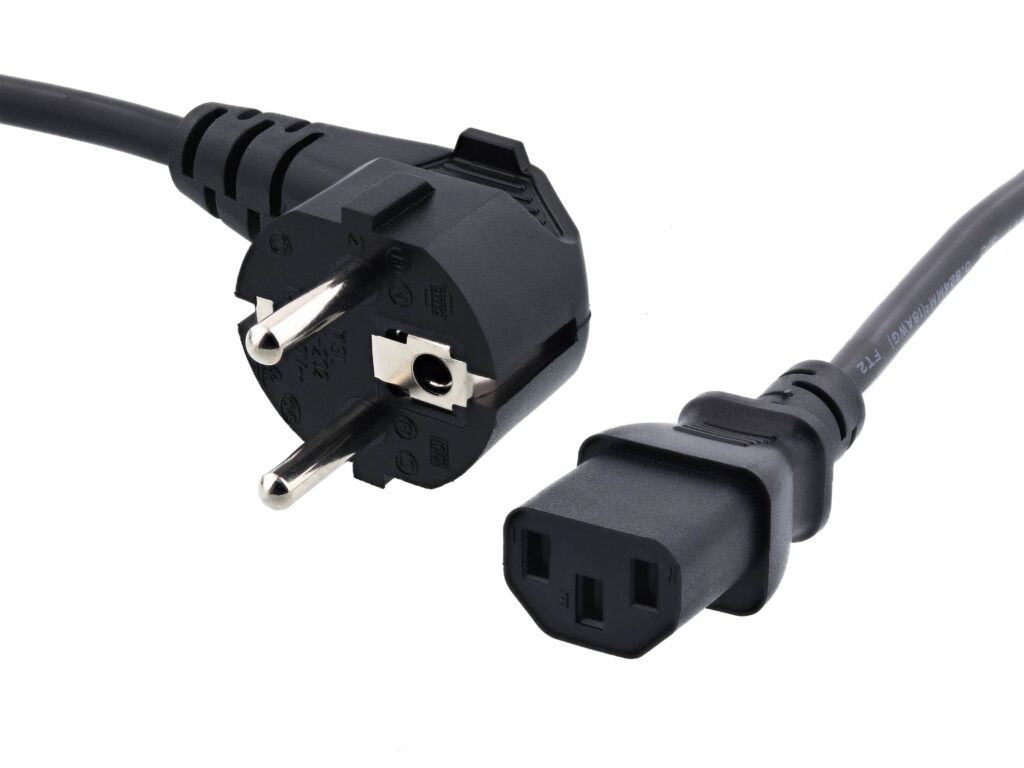
- Monitor Power Cable – It would either look like the computer power cable or something with a brick… which also plugs into your electricity outlet.
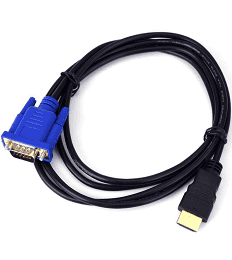
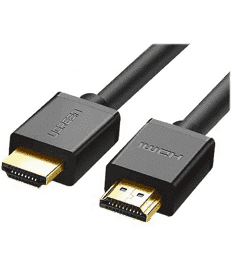
- Monitor Output Cable – This would either be an HDMI, VGA, DVI, USB-C, or DisplayPort. Pictures will be provided for your convenience. 🙂
Now that you’re familiar with all those fancy electronic stuff, let’s get on with the exciting part – setting it up!
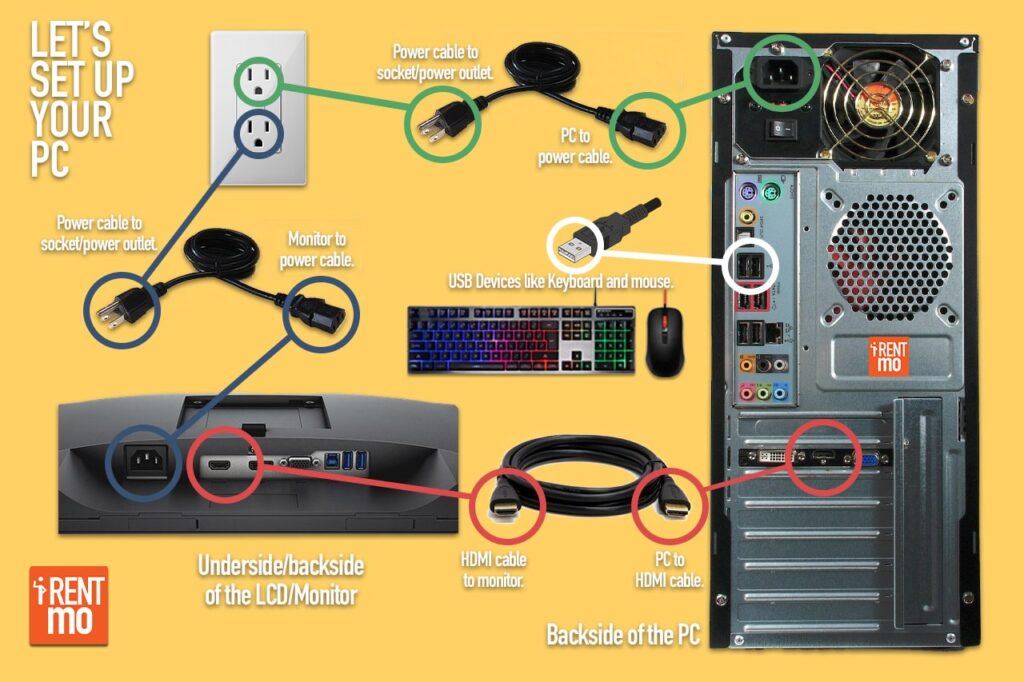
Step 1: Place your Desktop Computer / CPU / System Unit on top of a clean table which should be near an electricity outlet.
Step 2: Plug in the computer power cable’s “female” end (the one with holes) into your computer’s back end. The computer’s power port is hollow with three silver prongs sticking out inside.
Step 3: Plug in the computer power cable’s “male” end (the one with three or two silver prongs sticking out) into your electricity outlet. DO NOT turn on your computer yet.
Step 4: Plug in the monitor output cable (HDMI/VGA/DVI/USB-C/DisplayPort) into your computer’s back end. The port should perfectly match the plug.
Step 5: Plug in the keyboard and the mouse into your computer’s back end. Look for any USB slot. A USB slot would look rectangular; if the plug won’t fit, rotate it and see if it does. If it still doesn’t, maybe you’re on the wrong hole. 🙂
Step 6: Bring over your monitor to your table, and set it next to your computer.
Step 7: Look for the output cable that you plugged into your computer and connect the other end to your monitor.
Step 8: Get your monitor’s power cable and connect the cable’s monitor end into your monitor. That end should either look like the computer power cable’s female end or just a cylindrical plug.
Step 9: Then plug the other end (it’s either two or three pronged) into your electricity outlet.
Step 10: Press the power button on your computer/cpu/system unit. If it doesn’t turn on, make sure that the switch behind (next to where you plugged the power cable) is flicked on.
Step 11: If the monitor doesn’t turn on, maybe you need to press an “ON” button under, on the side, or behind the monitor.
Step 12: Enjoy, work, play. Whatever you need to do.
Having a new computer is basically plug and play. Now that you’ve got your PC build working, you just need to download the apps you need to get you started with your work from home, gaming, or online school.
Need help in purchasing monitors, PC packages and other computer peripherals. Let us know how we can help by visiting our page.
Resources:
http://edu.gcfglobal.org/en/computerbasics/setting-up-a-computer/1/